I adapted Carrot Top Mom’s absolutely fantastic coconut cupcake recipe after making it with my roommates! I had done a bake sale the week before with sold out piña colada cupcakes, but I wasn’t done trying new things so after having experienced the nirvana of Carrot Tom Mom’s recipe, I decided to put my own twist on it!

Another neat trick? DIY cupcake stand! 2 plates and a cup couldn’t be happier! Mismatch them or find similar colours, it all looks great!
You’ll need a can of coconut milk (ideally full-fat is best). If you can put it in the fridge the day before, that’d be great, if not, 20 min in the freezer will suffice as coconut milk/oil has a low-temp state of change. You basically want the cream in the milk to separate from the water, giving you a beautiful glossy cream to work with and a flavourful coconut water to add to the cupcakes. So now you’re probably waiting and I’ll give you the DL on it!
Preheat oven to 350*F
Ingredients:
- 2 c. flour (all purpose is just fine)
- 1/2 tsp salt
- 2 1/4 tsp baking powder
- 1 1/2 sticks of butter
- 1 1/3 c. granulated sugar
- 3 large eggs
- 1/2 tsp. vanilla extract
- 1 can of coconut milk (leftover from frosting—see below)
- 1/2 can of pineapple chunks (juice sieved out or patted dry)
- 2 c. powdered sugar (for the frosting)
- Maraschino cherries with stems
- 1 whole pineapple
- Slice the husk off the pineapple (don’t worry if it’s not round) and proceed to slice rounds that are approximately 1/3 of a centimeter thick. Dry them out in the oven (350* is fine) on a baking sheet lined with foil or parchment paper (try to dry them out on both sides) and bake them until the edges turn golden.
- With a knife put a small hole in the center for the stem of a maraschino cherry to go through. Set them aside in a dry place.

I recommend prepping the coconut milk before making the batter so you have your coconut water to use for the cupcake batter. Leggo!
- After letting your trusty can of coconut milk sit in the freezer for 20 min (or in the fridge overnight), carefully pull it out without tossing it about or turning it upside down. Open the can and take the cream from the top that has collected, transferring it into a mixing bowl; take as much of it as you can without getting any of the “coconut water” at the bottom. Ideally, 2/3 of the can will have turned into cream, leaving 1/3 of the can (mostly coconut water) for your cupcakes. Save the remainder in the can, and put the bowl of cream aside.
- Sift together the flour, salt & baking powder
- In a separate bowl, cream the butter and granulated sugar together. Add one egg at a time as you mix and then add the vanilla.
- Into the wet mix, alternate adding 1/3 of the dry mix and 1/2 of the coconut water from the can and mix—do not over mix! Just mix until the flour is all incorporated. You should finish by mixing the last 1/3 of the dry mix in.
- Good work! Now you batter is thickened and ready for the pineapple aspect of the cakes! Get the pineapple chunks that you’ve patted dry and FOLD them in with a spatula. Try not to mix too much! You don’t want to ruin the batter. Fold until evenly incorporated.
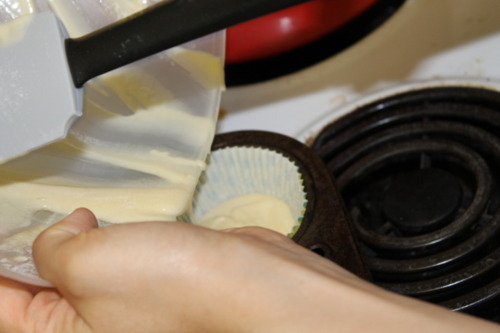
- Get your batter into the cupcake liners & tins now. I recommend going 2/3 up.
- With your oven preheated to 350*F, put the tins in and bake for 10-15 min or until an inserted toothpick comes out fairly clean.
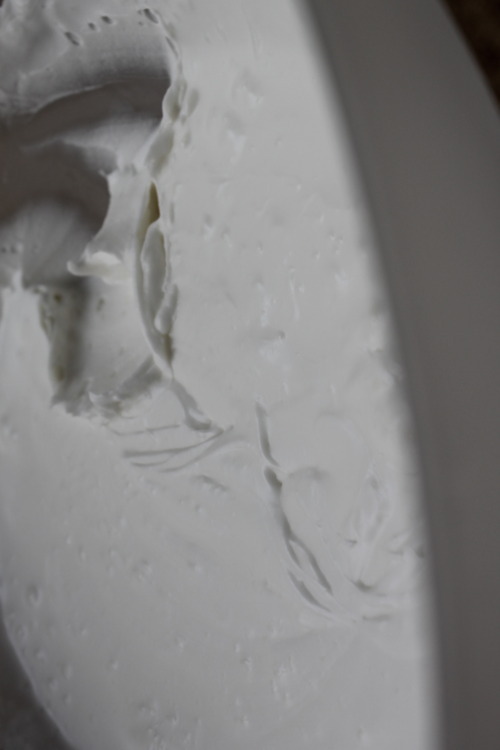
- Now that you’re patiently waiting for the cupcakes to happen, go ahead and work on the frosting. Get the cream that you’ve collected from the can and whip it with an electric mixer until fluffy. Introduce about 2 cups of powdered sugar and whip it in. Taste as you go, just in case you don’t want it too sweet. Also feel free to add more. If you’re not frosting them right away, go ahead and put the frosting into the fridge.
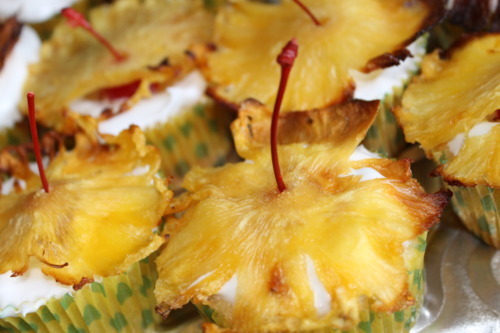
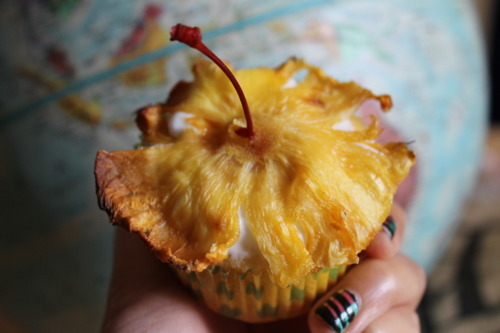
When the cupcakes have cooled remove a small section in the middle to fit the maraschino cherry (you can use a grapefruit spoon or a small melon-baller). Now you can frost them using a spatula or a spoon. Insert the cherry and then when adding the pineapple petals, insert the cherry’s stem through the hole you made in the flower. Voila!